Skip to Content

8mm High-Intensity LED – Warm White (White-Yellow)

(0 review)
Input VoltageRecommended ResistorCurrent OutputColor Code
3.7V (Li-ion)22 $\Omega$~20mARed-Red-Black
5V (USB/Arduino)100 $\Omega$~18mABrown-Black-Brown
9V (Battery)330 $\Omega$~18mAOrange-Orange-Brown
12V (Car/Adapter)470 $\Omega$~19mAYellow-Violet-Brown
24V (Industrial)1k $\Omega$~20mABrown-Black-Red
Price
₹ 15.00 ₹ 15.00
(Tax included)

LEDs are current-sensitive devices. Even a small increase in voltage above the 3.6V limit can cause the LED to draw too much current, leading to overheating and permanent failure.

  • For 5V Systems: A 100 $\Omega$ resistor is the perfect "safe" value for standard brightness.

  • For 12V Systems: A 470 $\Omega$ resistor ensures the LED stays cool while remaining highly visible.

How to Connect

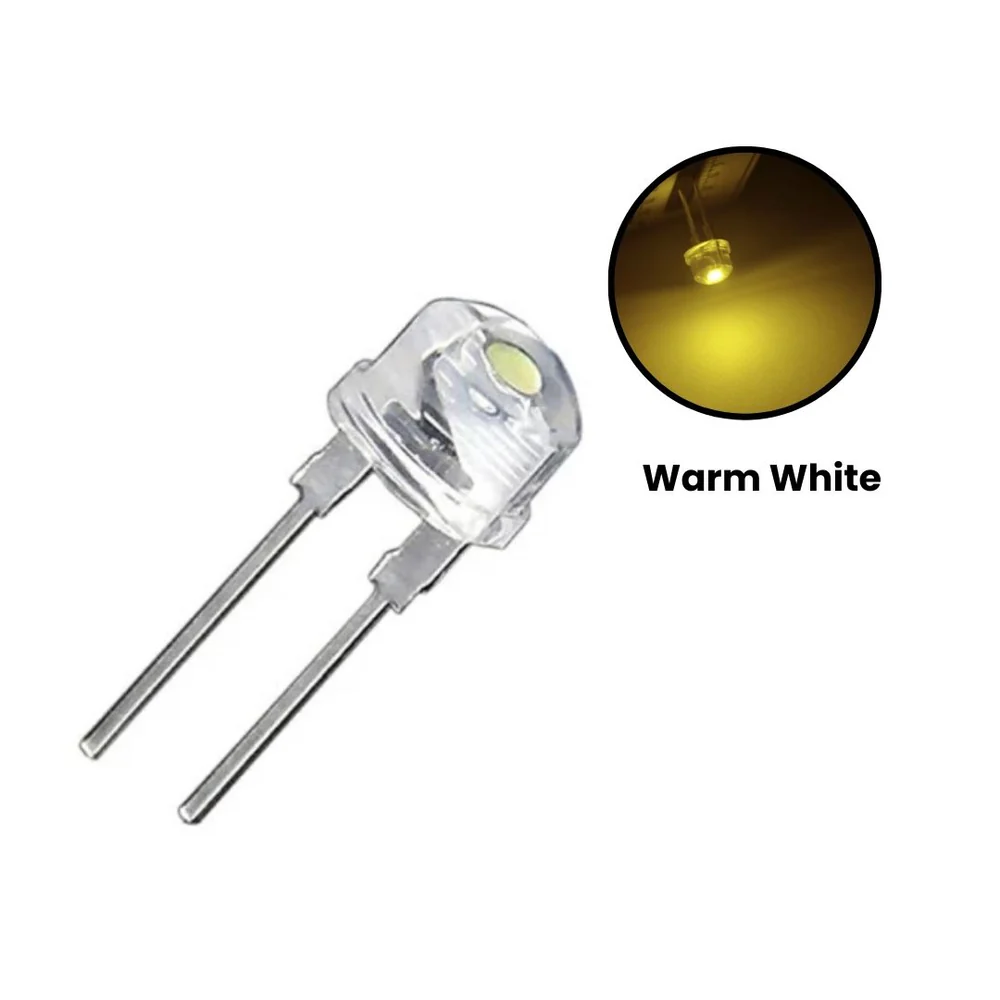
  1. Identify the Long Lead (Anode/Positive) of the LED.

  2. Solder the resistor to either lead (it doesn't matter which side, but usually, it's added to the Positive side for consistency).

  3. Connect to your power source.

Pro Tip for Robogears Customers: If the LED is too bright for your project, increase the resistor value (e.g., use a 1k $\Omega$ instead of 470 $\Omega$ on 12V) to dim the light and save battery power.