Product Description & Technical Details
Product Description
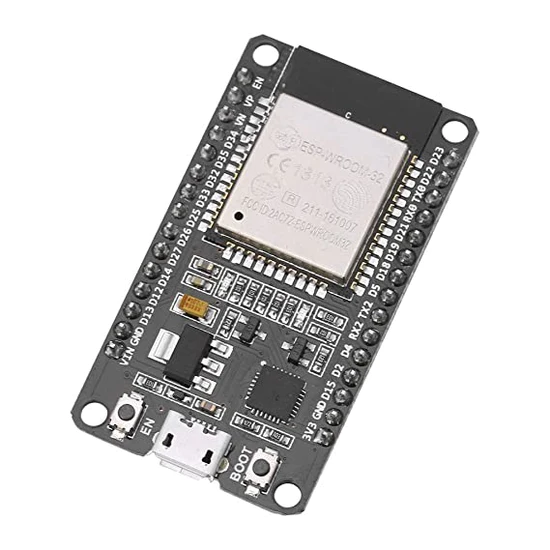
The ESP32-WROOM-32 Development Board is the flagship of the IoT world, offering a powerful jump in performance from the older ESP8266 series. This board features a dual-core 32-bit processor, allowing it to handle complex computational tasks and high-speed wireless networking simultaneously without lag. With integrated 2.4GHz WiFi and dual-mode Bluetooth (both Classic and Low Energy), it is the ultimate choice for smart home hubs, industrial automation, and wireless sensor nodes. At Robogears, we recommend this 30-pin variant for its "breadboard-friendly" design, which leaves one row of holes accessible on each side for easy prototyping.
Key Highlights
Dual-Core Processing: Equipped with two Xtensa® 32-bit LX6 microprocessors. You can dedicate one core to managing WiFi/Bluetooth stacks while the other runs your primary application logic.
Hybrid Connectivity: Offers both WiFi for cloud integration (MQTT, HTTP) and Bluetooth for local control via mobile apps or communication with low-power BLE beacons.
Advanced Peripherals: Includes a vast array of internal sensors and interfaces, such as capacitive touch sensors, Hall Effect sensors, high-speed SPI, I2C, I2S, and multiple hardware UARTs.
Security Focused: Features hardware-accelerated encryption (AES, SHA-2, RSA, ECC) and a random number generator to ensure your IoT data stays secure.
Breadboard Optimized: The narrow form factor is specifically designed to fit into a standard breadboard while still allowing space for jumper wires on both sides.
Technical Specifications
SRAM: 520 KB Internal SRAM
Input Voltage: 5V via USB or 5V-12V via VIN pin
Operating Voltage: 3.3V (Internal LDO)
Digital I/O Pins: 25
ADC: 12-bit SAR ADC (up to 18 channels)
Dimensions: ~51mm x 28mm
Installation Tip from Robogears
In the Arduino IDE, go to the Boards Manager and install the "esp32" package. Select "DOIT ESP32 DEVKIT V1" as your board. If your board uses the CH340 serial chip and your computer doesn't recognize the COM port, ensure you install the CH340 drivers. For projects requiring high current—such as driving multiple NeoPixels or relays—do not rely solely on the USB power. Use an external 5V power supply and connect it to the VIN pin while sharing a common ground with the ESP32.
Note: The product images provided are for illustration purposes only. The actual product may vary slightly in terms of design, color, or component layout due to manufacturing updates, but technical specifications will remain as described.