Prototyping & Installation Tip
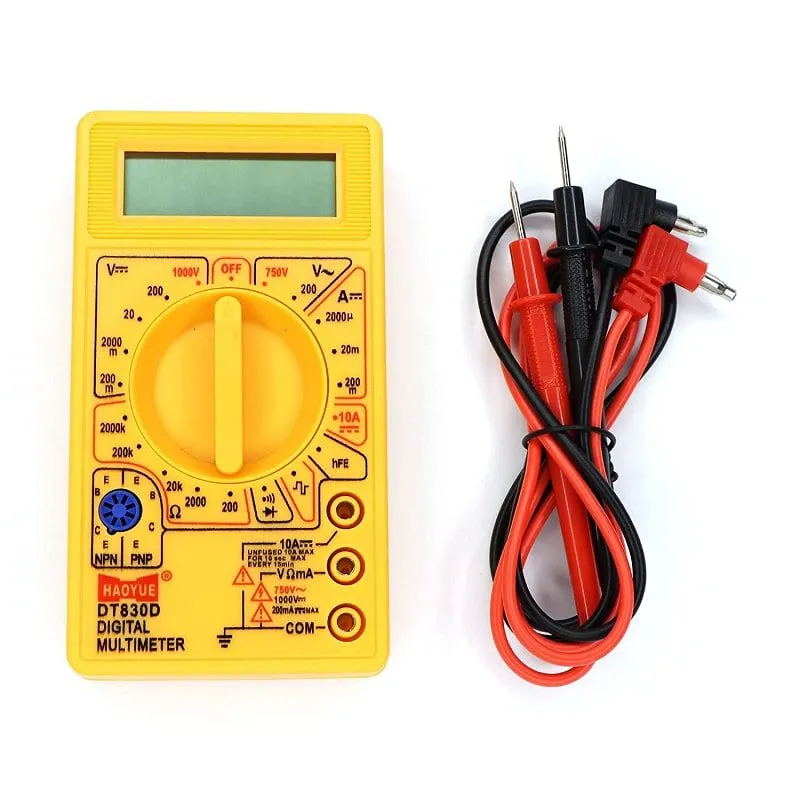
When measuring high current (up to 10A), ensure the red probe is moved to the "10A" jack and limit the test duration to less than 10 seconds to prevent overheating. For continuity testing, always ensure the circuit power is OFF before touching the probes to the terminals to avoid damaging the meter's internal resistance chip. If the display shows a "1" on the far left, it indicates an Overrange—simply switch the dial to a higher range.
[Image demonstrating a continuity test on a PCB copper trace]
Note: This product includes the Multimeter, a pair of Test Probes, and a 9V Battery. Product images are for illustration purposes only