🔧 Engineering Notes from RoboGears
1. Calibrate the Sound Sensor First
The sound sensor's sensitivity adjustment is one of the most important parts of this project.
If sensitivity is too high, normal background sounds may trigger the system.
If sensitivity is too low, the sensor may not reliably detect a clap.
2. Make Small Potentiometer Adjustments
Turn the onboard sensitivity potentiometer gradually.
Small adjustments can significantly change the sound-detection threshold.
3. Keep the Sensor Away From Vibration
Do not mount the microphone sensor directly next to:
These can cause unwanted triggering.
4. Test in the Actual Environment
A sensitivity setting that works in a quiet room may behave differently in a classroom or exhibition.
Calibrate the sensor where the project will actually be demonstrated.
5. Use Stable Power During Testing
USB power is useful during initial development and troubleshooting.
Unstable power can cause unexpected Arduino resets or irregular behaviour.
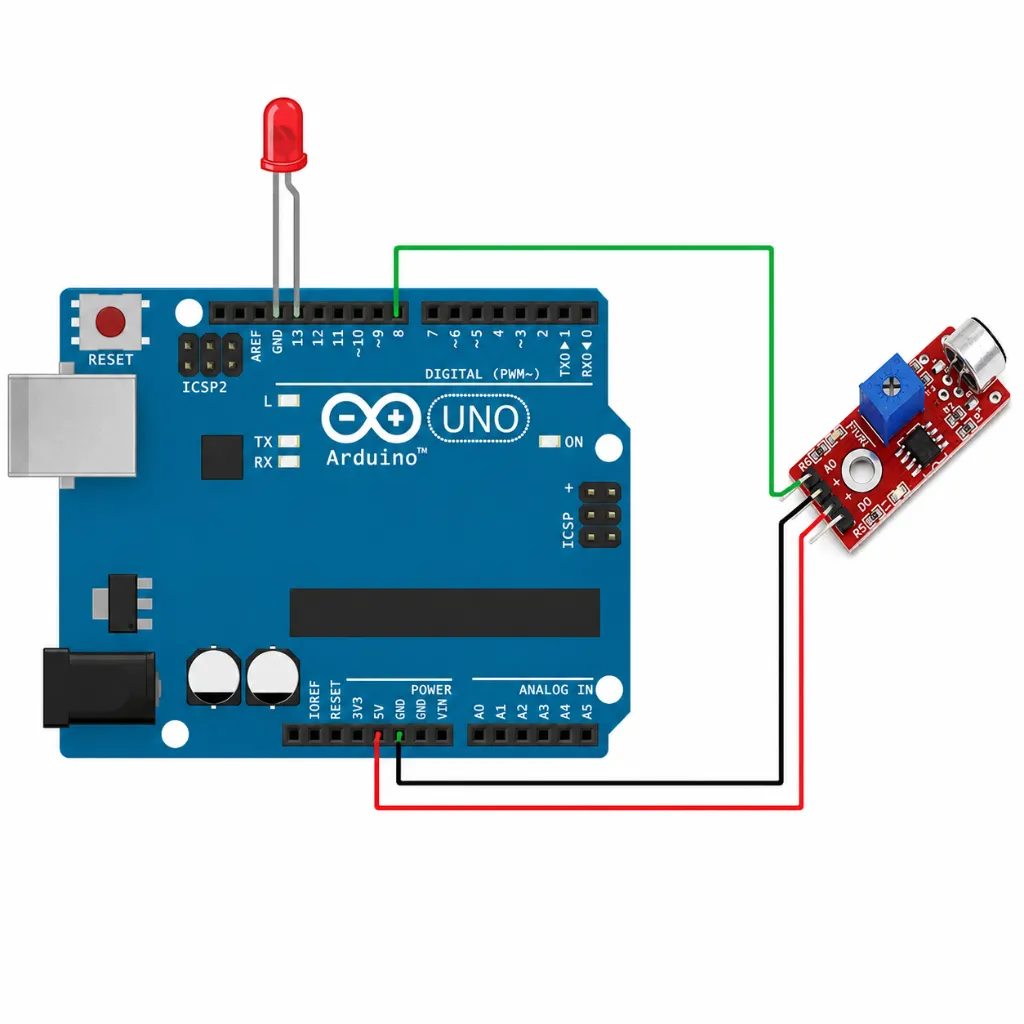
6. Check LED Polarity
LEDs are polarized components.
If an LED does not illuminate, verify its orientation before assuming the LED or Arduino is faulty.
7. Always Use the Current-Limiting Resistors
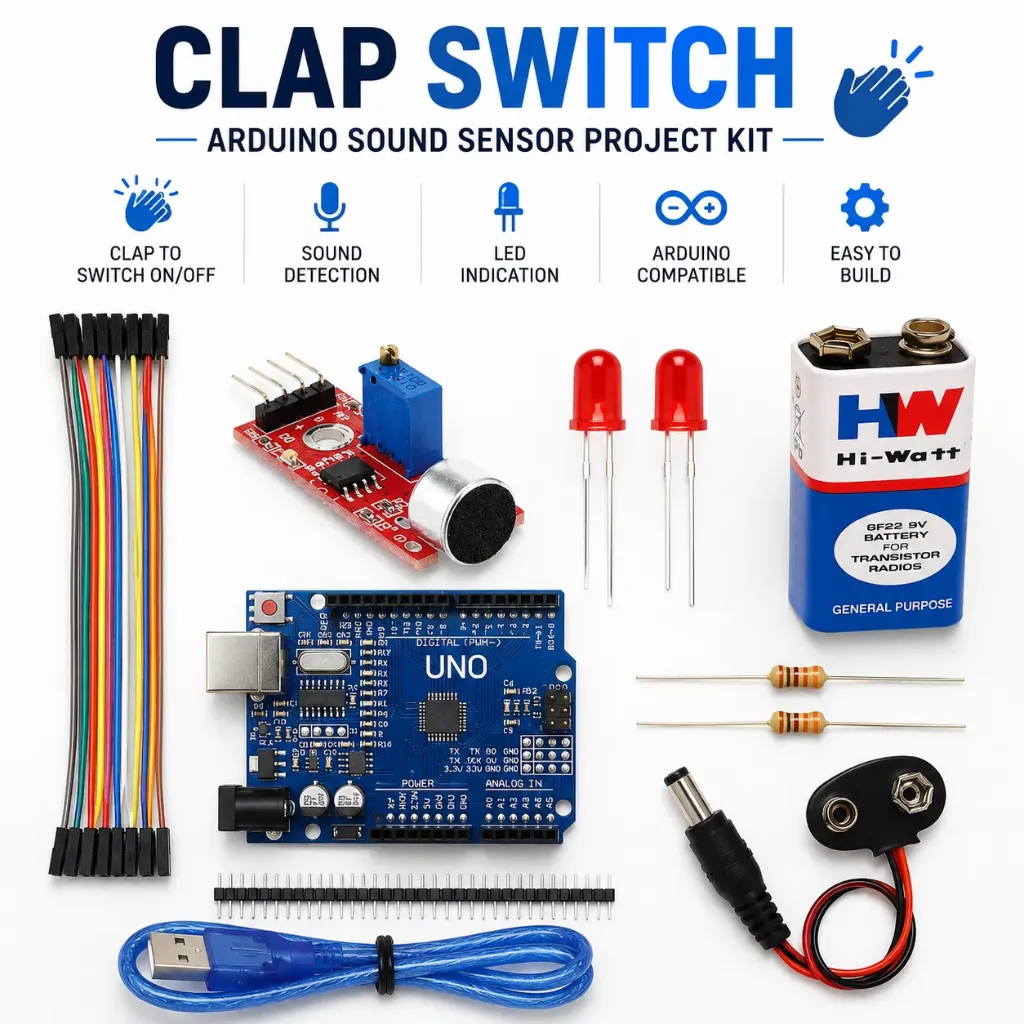
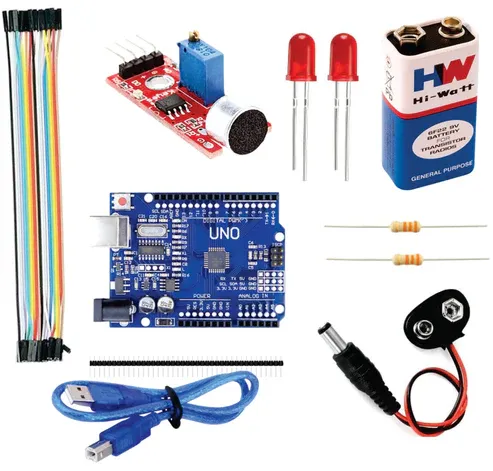
Use the supplied 220Ω resistors with the LEDs.
Do not connect standard LEDs directly between an Arduino output and ground without suitable current limiting.
8. Test the Original Program Before Modifying It
First confirm:
Then begin modifying the Arduino program.
9. Understand What the Sensor Actually Detects
A basic sound sensor does not inherently understand that a particular sound is a "clap."
It detects sound level/events.
The overall behaviour depends on:
Sound Level + Sensor Threshold + Arduino Logic
This is important when explaining the project scientifically.
10. Don't Directly Control Mains Appliances
The supplied project demonstrates LED control.
Do not connect 230V AC loads directly to the Arduino or sound sensor.
Mains appliance control requires additional appropriately rated and isolated switching hardware and proper electrical-safety practices.
⚠️ Common Troubleshooting
Sensor Does Not Detect Clap
Check:
Sensor power
VCC/GND
Signal connection
Sensitivity adjustment
Arduino pin connection
Clap distance
Sensor Triggers Continuously
The sensitivity may be too high.
Reduce sensitivity gradually and move the sensor away from noise/vibration sources.
LED Does Not Turn ON
Check:
Arduino Works on USB but Not Battery
Check:
Battery condition
Battery snap
DC connector
Arduino power input
Connection polarity
Project Triggers With Random Sounds
This can be normal if those sounds exceed the sensor threshold.
Recalibrate the sensor sensitivity for the intended environment.
Engineering Principle
The project demonstrates a simple automation chain:
Acoustic Energy → Microphone Sensor → Electrical Signal → Arduino Logic → LED Output
A basic sound sensor is primarily a sound-level/event detector, not a sophisticated clap-recognition system.